If you have received a Low Battery Alert, you may need our team to send you a new battery or a new sensor, depending on the type of sensor you have.
First, check your inbox for an email from our Support Team who will reach out to you to facilitate the replacement of your sensor or battery. If you cannot locate this email, simply reach out to us at support@glaciergrid.com and they will happily assist you through this process. The email will also indicate what kind of hardware you have and the process for replacement.
Once you receive your new sensor or battery, follow the steps below to either update the sensor in your Dashboard or Mobile App, or replace the battery if applicable.
If you are in possession of our Monnit Sensors (our black legacy sensors), please scroll down to the bottom of this page for information on replacing your batteries.
Which sensor do I have?
We currently have two GlacierGrid Sensors in production.
 LHT65 GlacierGrid Sensor
If your sensor has a large blue Activation (ACT) button on the bottom of your sensor, then your sensor does NOT have a removable battery and we will need to replace your sensor. Our support team will send you an email to confirm your address for your replacement sensor. The replacement also includes a return label for the return of your dead sensor. Once you receive the new sensor in the mail, please see below for instructions on how to replace the sensor in your dashboard.
This sensor is being phased out as we have upgraded to a newer version of this hardware (below).
 HT65N GlacierGrid Sensor
If your sensor has the clear ACT button on the front, as pictured to the left, then your battery IS removable and we can send you a replacement battery. The battery is NOT a AA and will require a specialized battery to be sent to you from our facilities. Our Support Team will reach out to confirm your address for the new battery. We ask that you dispose your your older battery in the appropriate fashion.
If you are unsure of what your sensor looks like, you can check the serial number in your dashboard to determine the type of sensor.
How do I find the Sensor Number?
The Sensor Number, or Serial Number, is located on the front of your sensor and will start with either LHT65 or HT65N followed by a series of numbers.
How do I replace my LHT65 Sensor in my dashboard?
Once your upgraded sensor has arrived from our facilities, and you have returned the old sensor to us, you will need to connect it to your Dashboard. We recommend doing this in your app, for the convenience of the QR code, but you are also able to complete this on the Web Dashboard as well.
GlacierGrid Mobile App
-
Open the GlacierGrid App on your mobile device.
-
Locate the equipment associated with the sensor you’d like to edit, and tap it to open the Equipment Details screen.
-
Tap the three dots in the top-right corner, then select Edit Equipment.


Caution: Do not delete the sensor. If you do, you will need to reconfigure your alert settings.
-
You can now either:
-
Tap the QR Code icon to scan the new sensor's QR code, or
-
Manually enter the Sensor ID (the ID starting with LHT65, printed on the front of the sensor).
-


-
Tap Save in the upper right corner to apply your changes.
-
The updated Sensor ID will now be reflected in your dashboard.
GlacierGrid Web App:
- Login to your GlacierGrid Dashboard.
- Navigate to the Equipment screen
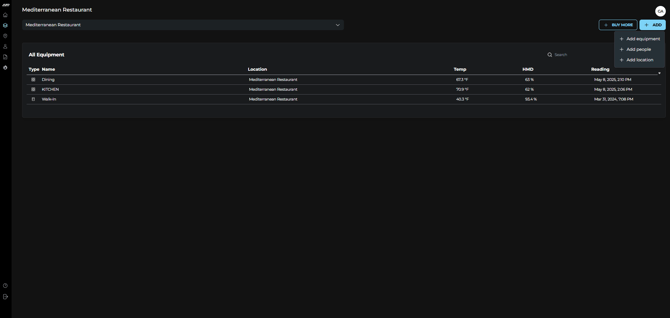
- Use the table to locate the equipment associated with the sensor you'd like to edit, then click on it to open its details.
- Click the Edit button located next to the equipment name.

-
In the Equipment Details screen, update the Sensor ID field as needed.
-
Click Save to apply your changes.

- The updated Sensor ID will now be visible in your dashboard.
✅Tip: If you manage a large portfolio, use the search and filter features to refine table results and find what you’re looking for in just a few clicks.
Caution: Do not delete the sensor. If you do, you will need to reconfigure your alert settings.