


Maintenance Tips to Extend the Life of Your Walk-In Cooler
Walk-in coolers play an essential role in commercial refrigeration systems for a wide variety of businesses from large-scale supply chain and food service companies all the way down to local convenience stores on the corner.
And with the high price tag on this piece of refrigeration equipment, and the expenses associated with operating cold storage, you’ll want to ensure you’re doing regular maintenance to prolong the life of your walk-in freezer well beyond the estimated 15-year life span.
So whether you’re buying a brand new chiller, or you’ve recently purchased a commercial freezer second-hand, you should add these preventative maintenance tips from our team of experts to your to-do list.
Common Problems Associated with Commercial Refrigeration Equipment
Before we get too far ahead, let’s review some of the main components of a refrigeration system, and some common problems you might encounter with your walk-in cooler. Most of these components can be found in refrigeration units as diverse as ice machines, air conditioning, and walk in freezers. Knowing these components and their associated malfunctions will help you further understand where to focus your maintenance efforts.
Condenser Unit
Your walk-in cooler’s condensing unit contains some of the refrigeration system’s most vital components including the condensing coil, condensing motor, and compressor.
The condenser is responsible for removing heat from the refrigeration system. In order to do this, it needs sufficient airflow. If the condenser is located in a cramped space, or if it’s collecting dust and debris, airflow will be inhibited, heat transfer will suffer, and your compressor will have to work harder to maintain your cooler’s internal temp.
Evaporator Coils
The evaporator coils inside your walk-in cooler freeze over with moisture from the air and then, ideally, go through a defrost cycle where excess ice buildup melts and is drained out of the system.
Unfortunately, it’s not uncommon to see poorly maintained evaporator coils where the ice buildup is no longer melting and draining properly. This causes the compressor to work harder and can lead to failure.
We also see problems with evaporator drain lines where trapped water freezes elsewhere in the refrigeration system and expands, causing structural damage to the equipment.
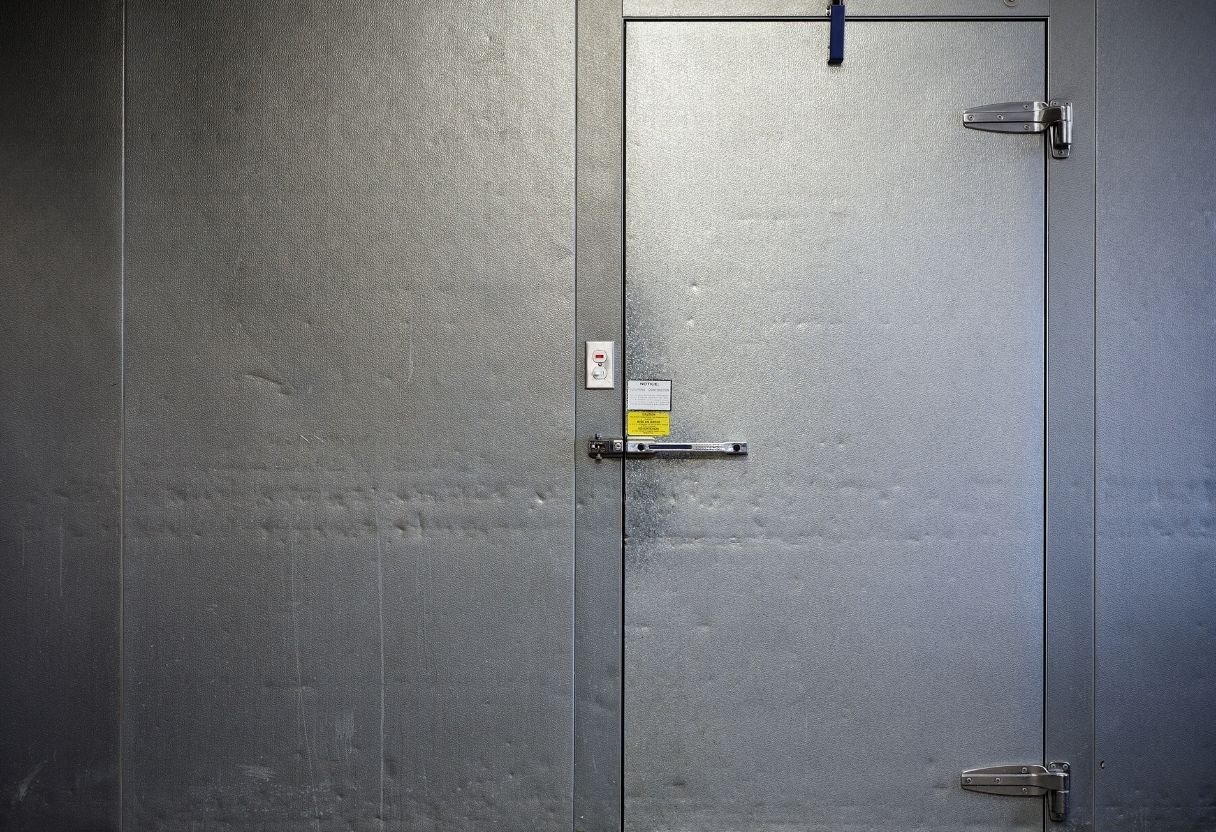
Door Gaskets
Your cooler’s door gaskets are notorious for wear and tear. Without routine maintenance, the door seal will lose strength allowing cool air to escape. The rest of your refrigeration system will have to step up and work harder to maintain a consistent interior temperature.
Walk- In Cooler Preventative Maintenance Tips
Now that you know some of the common “problem areas” in your walk-in cooler, let’s talk about how to properly maintain these components to extend the life of your freezer and avoid costly cooler repair! The most affordable way to perform commercial refrigeration maintenance is to focus on prevention. Avoiding malfunctions, or catching equipment failures before it causes spoilages is much cheaper than having to do a repair and replacing lost goods.
Schedule a Monthly Clean of Your Walk-In Cooler’s Condenser Unit
To protect your cooler’s condenser and compressor, you’ll want to start with a monthly cleaning of the unit. Here’s a simple 4-step process to keep everything running smoothly:
- Locate your cooler’s condensing unit. This will either be on top, underneath, or in a remote location depending on your model. Check your walk-in cooler’s product manual if you’re having trouble finding it.
- Next, temporarily shut off the power to your walk-in freezer.
- Use the reverse airflow feature on a handheld vacuum to blow dust and dirt from the unit’s components. Then switch to the normal vacuum suction and suck up the loose debris. Preventing build-up in your condensing unit is critical to your refrigeration system’s overall health.
- Plug your cooler back in!
Remove Build-up From Your Evaporator Coil and Fan
Over time, dirt and debris can also build up on your walk-in cooler’s fan blades, causing the fan motors to work harder.
Every 2-3 months, thoroughly clean the fan blades with a mild detergent and water, removing any built-up grime.
Every 6 months, either use a self-rinsing coil cleaner that drains into the unit’s drain pan or soap and water with a small coil brush to rid the evaporator coils of any build-up. These coils are fragile so be careful when you’re cleaning this component.
Be sure to temporarily shut off the power before cleaning the evaporator fan and coils.
Maintain Your Cooler’s Drain Lines
Once a year, schedule a routine checkup with a service tech to check your walk-in cooler’s drain lines. As we mentioned earlier, if these drain lines get backed up, water could potentially freeze and expand within the refrigeration system causing damage to the structure of the unit.
While you’re at it, it’s also a good idea to have your service tech perform maintenance checks on your unit’s electrical connections when they come out to inspect the drains!
Routinely Inspect and Clean Your Walk-In Freezer’s Panel and Door Gaskets
Check that your freezer unit’s gaskets aren’t cracked, loose, or caked in grime. Bad gaskets will increase energy costs by allowing warm air into the cooling compartment, and cause the whole system to work harder so it’s important to replace weakened gaskets in a timely manner.
You can prevent gasket wear and tear by cleaning them every 2-3 months with detergent and water. Regular cleanings will prevent a build-up of dust and dirt which can cause them to weaken over time.
Also, it’s always a good reminder to treat your walk-in cooler’s door gently. It’s easy to slam when we’re in a hurry, but the nicer you are to it, the longer those door seals will keep your freezer nice and cool!
Regularly Check Your Walk-In Cooler’s Thermostat
Your walk-in cooler most likely came with a pre-installed exterior thermostat that consistently takes readings of the indoor temperature. We highly recommend installing a second thermometer inside the unit in case the thermostat sensor malfunctions.
One common cause of such a malfunction is stacking boxes too close to the sensor, preventing it from taking an accurate reading. But if you’re looking for a simpler solution than manually tracking changes in your commercial walk’s temperatures, you might consider our next tip-
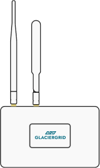
Install a Temperature Monitor
When temperatures rise in your cooling unit, it’s essential to identify this change quickly and schedule a technician to resolve the issue before your inventory spoils.
But current monitoring methods are time-consuming and require staff to be present to perform manual temperature checks, leaving your inventory vulnerable when your staff leaves for the evening.
Installing a monitor that consistently reads the temperature in your cooling units and records that data allows you to detect temperature changes the moment they occur. Trends in the data will also help you see changes in energy usage over time, which can alert you to potential equipment issues before they become visibly apparent.
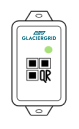
How GlacierGrid can help
A temperature monitor (such as GlacierGrid) analyzes your equipment 24/7 and alerts your team immediately in the case of component failures, power outages, and human errors.
If the monitor senses a temperature change, it will notify the appropriate team member by SMS, phone call, or email that there is a problem with the system.
No more worrying about your equipment after hours!
Click below to learn more about GlacierGrid and see for yourself how our remote temperature monitor can play a key role in extending the lifespan of your walk-in cooler.